Introduction
Starting with email marketing can feel overwhelming, especially if you’re new. The good news is, with Brevo (formerly Sendinblue), setting up your first campaign in 2025 is simple, affordable, and beginner-friendly.
In this step-by-step guide, we’ll walk you through creating, designing, and sending your first email campaign in Brevo. By the end, you’ll be confident enough to launch professional campaigns that engage your audience and grow your business.
Step 1: Create Your Free Brevo Account
Brevo offers a free plan that lets you send up to 300 emails per day — perfect for beginners testing the waters.
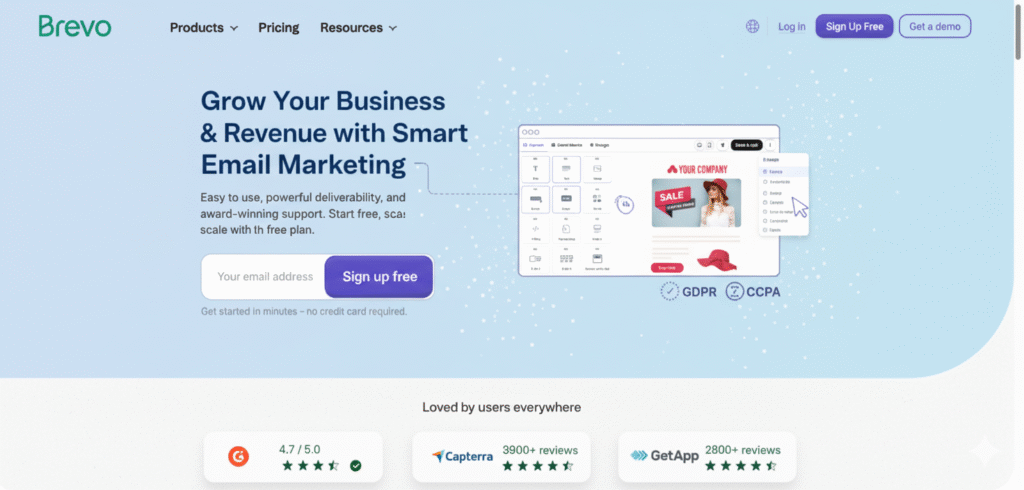
- Go to Brevo’s official website.
- Click Sign Up Free.
- Enter your email address and create a password.
- Verify your email to activate the account.
👉 Tip: Use your business email address (e.g., hello@yourdomain.com) instead of Gmail/Yahoo to improve deliverability.
Step 2: Set Up Your Sender Information
Before sending campaigns, Brevo requires you to add:
- Company name
- Sender name (e.g., John from Bemzo Marketing)
- Sender email address
👉 Pro Tip: Authenticate your domain using SPF, DKIM, and DMARC records to avoid landing in spam folders. Brevo provides clear instructions for this.
Step 3: Import Your Contacts
You can’t run an email campaign without an audience. Brevo allows you to:
- Manually add contacts (for small lists).
- Upload a CSV file with subscriber names and emails.
- Connect integrations (e.g., Shopify, WordPress, WooCommerce, HubSpot).
⚠️ Important: Only upload contacts who have opted in to receive your emails. Sending to purchased lists can get your account banned.
Step 4: Create a New Campaign
- From the dashboard, click Campaigns > Email > Create an Email Campaign.
- Enter the campaign details:
- Campaign name (internal use only).
- Subject line (what subscribers will see).
- From name & email (sender identity).
- Preview text (short snippet before opening).
👉 Tip: Keep subject lines short, clear, and curiosity-driven. Example: “Boost Your Sales with These 3 Quick Tips 🚀”
Step 5: Design Your Email
Brevo offers three options:
- Drag-and-Drop Editor (perfect for beginners).
- Rich Text Editor (write like a normal email).
- Custom HTML (for developers).
Using the Drag-and-Drop Editor:
- Choose a pre-designed template.
- Drag elements like text, images, buttons, dividers, and social icons.
- Customize colors, fonts, and layout to match your brand.
- Add a CTA button (e.g., “Shop Now” or “Get Started”).
👉 Pro Tip: Always include your logo, contact info, and unsubscribe link to stay compliant with email marketing laws (GDPR & CAN-SPAM).
Step 6: Personalize Your Email
Personalization is key in 2025. Brevo lets you insert:
- First name (Hi {{ contact.FIRSTNAME }}).
- Dynamic content (show different offers based on customer behavior).
👉 Emails with personalization see up to 26% higher open rates.
Step 7: Preview & Test Your Campaign
Before sending:
- Preview on desktop and mobile.
- Send a test email to yourself.
- Double-check links, spelling, and images.
👉 Pro Tip: Use Brevo’s Inbox Preview to see how your email looks in Gmail, Outlook, and Apple Mail.
Step 8: Schedule or Send Immediately
Brevo gives two options:
- Send Now — for time-sensitive campaigns.
- Schedule Later — choose date & time (great for international audiences).
👉 Best times to send emails (2025 data):
- Tuesday & Thursday mornings (9–11 AM).
- Avoid weekends unless your audience is B2C retail.
Step 9: Track Performance with Analytics
After sending, go to Campaign Reports to see:
- Open rate
- Click-through rate
- Bounce rate
- Unsubscribe rate
👉 Use this data to optimize your next campaign. Example: If open rates are low, test new subject lines.
Step 10: Automate Future Campaigns
Once you’re comfortable with manual campaigns, explore Brevo’s automation workflows:
- Welcome emails for new subscribers.
- Abandoned cart recovery (ecommerce).
- Birthday or anniversary messages.
- Re-engagement campaigns for inactive users.
Automation ensures you stay connected with subscribers without extra effort.
Quick Checklist for Beginners
✅ Create account & verify domain
✅ Import contacts (opt-in only)
✅ Design email with drag-and-drop editor
✅ Add personalization & strong CTA
✅ Preview & test email
✅ Schedule/send at best time
✅ Analyze reports & improve
Conclusion
Launching your first email campaign in Brevo is simple, affordable, and beginner-friendly. In just a few steps — sign up, import contacts, design your email, and hit send — you can start building strong customer relationships in 2025.
Action Step:
Get started with Brevo’s Free Plan today and launch your first campaign within minutes.